Installing a new motorcycle chain is simple and essential for maintaining your bike’s performance. Follow this guide to learn how, and get tips on using a motorcycle chain master link and chain riveting tools for a secure fit.
How to Change a Motorcycle Chain and Sprockets
Changing the motorcycle chain and sprockets is an essential maintenance task that every motorcycle owner should be familiar with. Over time, the chain can wear out or stretch, leading to decreased performance and potential safety hazards. Additionally, worn-out sprockets can cause uneven wear on the chain, further reducing its lifespan. In this guide, we will walk you through the step-by-step process of changing your motorcycle chain and sprockets.
1. Prepare Your Tools
Before beginning the installation process, gather all the necessary tools and equipment, gather the necessary tools:
- Socket set
- Chain breaker tool or chain riveting tool (depending on the type of master link)
- Torque wrench
- New chain and sprockets
Additionally, ensure you have safety goggles and gloves to protect yourself during the installation.
2. Remove the Old Chain
Start by placing your motorcycle on a stable stand or center stand to ensure stability during the chain replacement process. Locate the master link on your old chain, which is a removable link that allows you to separate the chain into two parts. Use the chain breaker tool to push out the pins of the master link, allowing you to remove it from both ends of the chain.
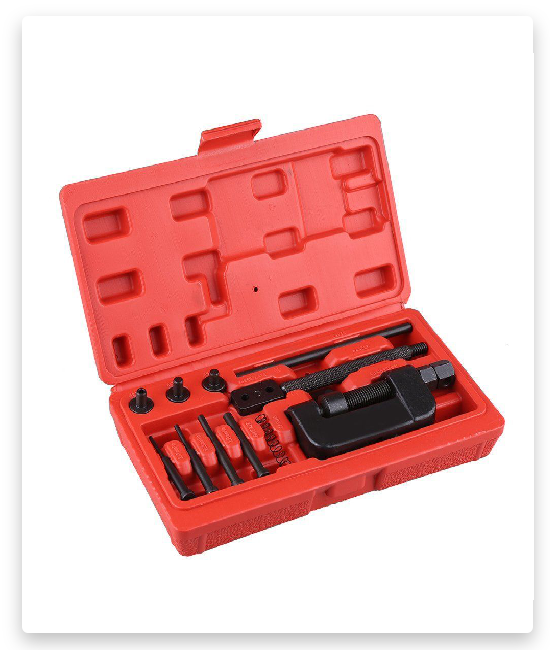
Chain Breaker Tool
A chain breaker tool is an essential tool for any motorcycle owner who wants to install a new chain. This tool allows you to easily break and remove the old chain, as well as rivet the new one in place.

Although it may seem intimidating at first, with the right instructions, anyone can use a chain breaker tool to successfully install a new motorcycle chain.
3. Measure for Proper Length
Before installing your new chain, measure it against your old chain to ensure it is the correct length. Place the old chain next to the new one and align them end-to-end. Make sure they are both straight and not twisted. If the new chain is longer than the old one, use a chain breaker tool to remove any excess links.
How to determine the optimal chain length?
Choosing the perfect length for your motorcycle chain is absolutely essential! A chain that’s too long will sag like a sleepy sloth and bring on a whole world of trouble, from damage to accidents. But don’t go too short either, because that’ll crank up the tension on your bike’s hardworking parts, dragging them towards a wear-and-tear disaster.

So, remember folks, finding that magical sweet spot for your chain length is the key to a smooth and blissful ride!
4. Apply Lubrication
Before installing the new chain, it is important to lubricate it for optimal performance and longevity . Apply a high-quality motorcycle chain lubricant to the entire length of the chain. Make sure to evenly distribute the lubricant by rotating the chain as you apply it.
Why is it important to remove the sealant from a new chain?
First and foremost, a new motorcycle chain typically arrives from the manufacturer coated with a layer of protective sealant. While this sealant helps prevent rust during storage and transportation, it can actually hinder the performance of the chain once it is installed on your motorcycle.

The sealant creates a sticky residue that attracts dirt and debris, which can lead to increased friction and wear on the chain. This can cause accelerated chain stretch and premature failure. Additionally, the sealant can also interfere with proper lubrication of the chain, reducing its effectiveness and potentially causing damage to other components of the motorcycle.
Removing the sealant before installing a new chain ensures a clean surface, smooth operation, and better performance for your motorcycle.
5. Install the New Chain
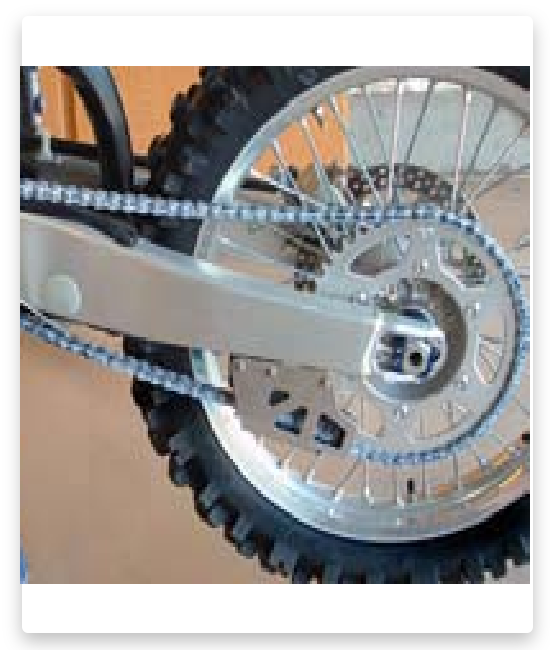
Start by placing one end of the new chain onto the sprocket at the rear wheel. Slowly rotate the wheel, guiding the chain onto the sprocket teeth until it is fully seated . Then, loop the other end of the chain around the front sprocket, ensuring it is properly aligned with the teeth. Use a socket wrench and torque wrench to tighten the front sprocket nut to the manufacturer’s specifications.
6. Connect the Chain
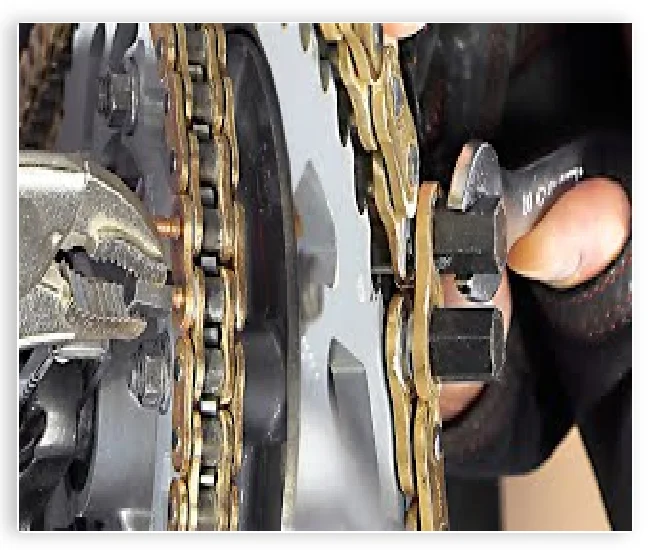
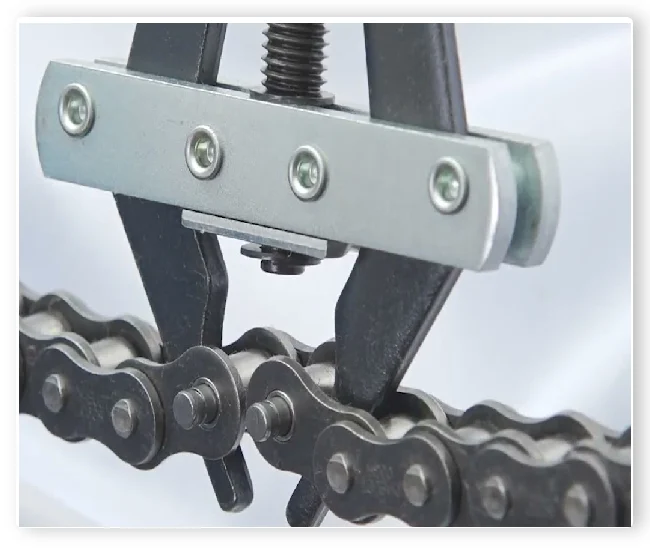
To connect the chain, locate the master link on your new chain. Insert one end of the chain into one side of the master link and align the pins with the holes. Use a chain riveting tool to press the pins into place, securing the link. Make sure the link is fully seated and secure.
Motorcycle Chain Master Link
- Clip-type Master Link: This type of master link is held together by a clip that secures the side plates of the link. The clip can be easily removed with pliers, making it relatively simple to install or remove the master link. However, some riders prefer other types due to concerns about the clip potentially coming loose.
- Rivet-type Master Link: This type of master link is assembled using a special tool to press-fit a rivet through the end of the chain pins. The rivet provides a secure and permanent connection, and some riders prefer this type for its added reliability and security.

7. Check for Proper Tension
Once the chain is connected, check for proper tension. The chain should have a slight amount of slack when pulled up and down in the middle section. Use a torque wrench to tighten the rear axle nut to the manufacturer’s specifications, which will help ensure the proper tension of the chain.
8. Test and Adjust
After installing the new chain, take your motorcycle for a short test ride to ensure that it is functioning properly. Pay attention to any unusual noises or vibrations that may indicate an issue with the chain installation. If necessary, make adjustments to the chain tension using the rear axle adjust ment bolts.
9. Regular Maintenance
To maintain your new motorcycle chain and ensure its longevity, it is important to regularly clean and lubricate it. Use a soft brush or cloth to remove any dirt or debris from the chain, and then apply a high-quality motorcycle chain lubricant. This will help prevent rust and keep the chain running smoothly.
Seek Professional Help if Needed
If you are unsure about any step in the installation process or encounter any difficulties, it is recommended to seek professional help from a motorcycle mechanic. They have the experience and knowledge to properly install a new motorcycle chain and can ensure that it is done correctly.
Remember, proper installation and maintenance of your motorcycle chain are crucial for safety and optimal performance. Regularly inspect your chain for signs of wear or damage, and replace it as needed to maintain the safety and functionality of your motorcycle.
