How to Install a Motorcycle Chain: A Step-by-Step Guide
Install a motorcycle chain can seem like a daunting task, but with the right tools and a bit of knowledge, it can be done easily and safely. As an avid motorcyclist, I’ve learned to do basic maintenance on my bikes over the years. One of the more involved jobs is replacing the chain and sprockets. In this article, I will share my knowledge and guide you through the process of installing a motorcycle chain.
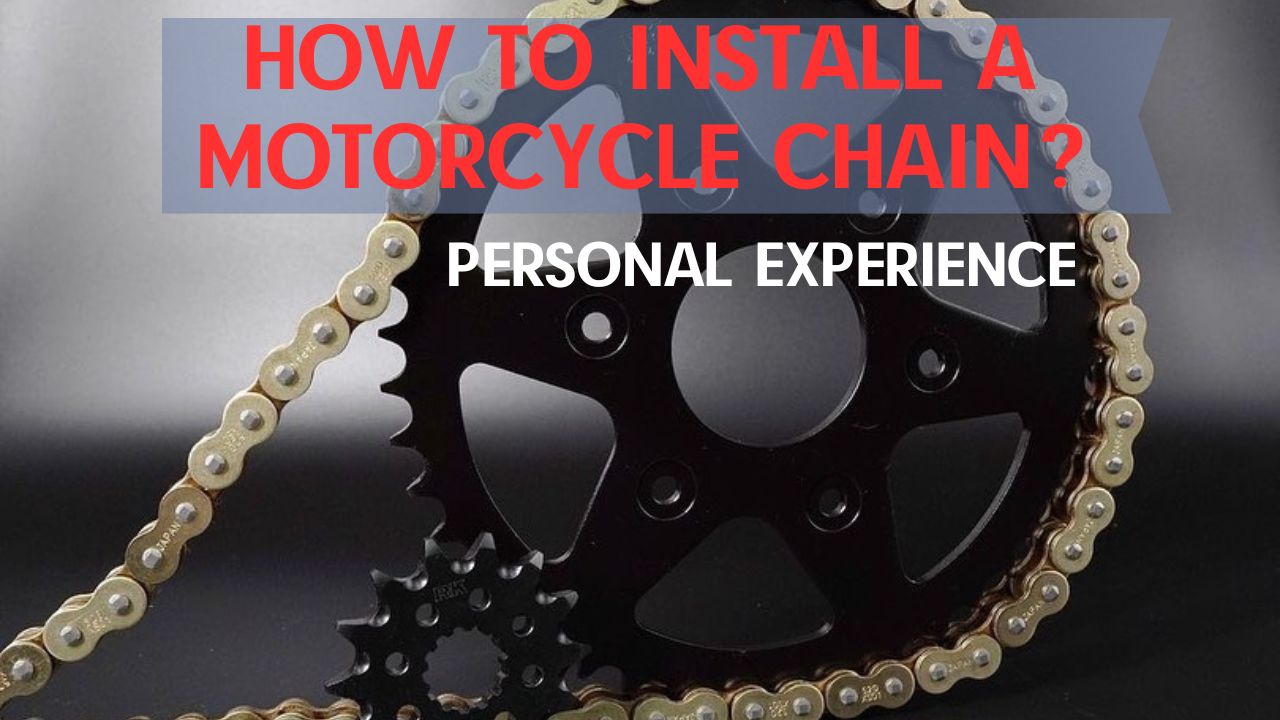
Before we begin, it’s important to note that install a motorcycle chain requires some basic mechanical skills and knowledge. If you’re not comfortable working on your motorcycle or are unsure of your abilities, it’s best to have a professional mechanic handle the installation. However, if you’re up for the challenge, installing a new chain can be a rewarding experience, and it’s a great way to keep your motorcycle running smoothly. In the following paragraphs, I will explain the tools you’ll need and the steps involved in installing a motorcycle chain.
Understanding Motorcycle Chains
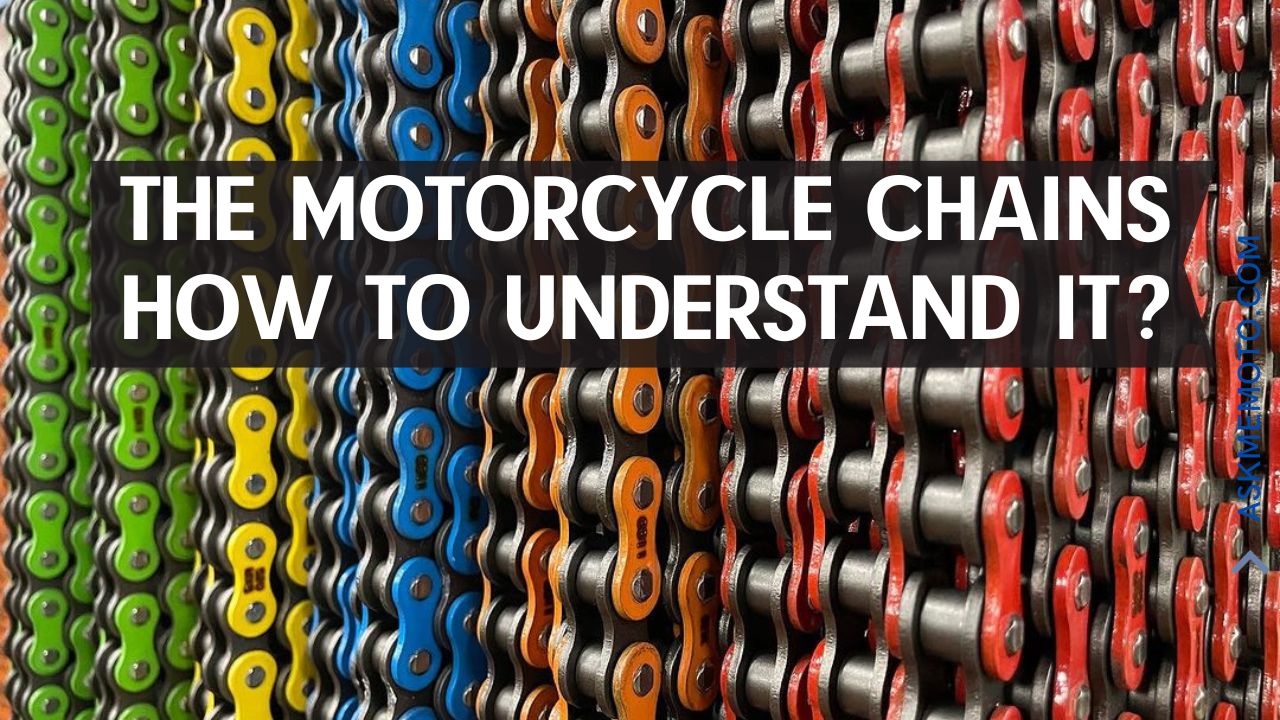
As a motorcycle rider, it is essential to understand the basics of your bike’s chain. The chain is an integral part of the motorcycle’s drivetrain, and it is responsible for transferring power from the engine to the rear wheel.
Motorcycle chains come in different sizes and types, but the most common type is the roller chain. Roller chains consist of a series of interconnected metal plates, with each plate having a roller that rotates on a bushing. The roller chain is designed to handle high loads and is durable, making it ideal for motorcycles.
The size of the motorcycle chain is determined by the number of links it has. The most common sizes are 520 o-ring and other, 525, and 530. The first number indicates the pitch of the chain in eighths of an inch, while the second number represents the width of the chain in sixteenths of an inch.
It is crucial to ensure that the chain is properly tensioned to prevent it from slipping or breaking. Over-tightening the chain can cause excessive wear on the sprockets and the chain itself, while under-tightening can cause the chain to come off the sprockets.
Regular maintenance of the chain is necessary to ensure its longevity and proper functioning. This includes cleaning and lubricating the chain regularly and checking for any signs of wear or damage.
In summary, understanding the basics of motorcycle chains is essential for every rider. Knowing the size and type of chain, proper tensioning, and regular maintenance can ensure a smooth and safe ride.
Tools Needed for Installation
When it comes to installing a motorcycle chain, having the right tools is essential. Here are the tools you will need to get started:
Proper Workbench
Before you begin, make sure you have a sturdy workbench to work on. A workbench will provide you with a stable surface to work on and will make the installation process much easier. If you don’t have a workbench, you can use a table or a flat surface, but make sure it is stable and can support the weight of your motorcycle. I gather the necessary tools – a rear stand, torque wrench, chain breaker and riveting tools, hex keys, chain lube, rags, and safety gear like glasses and gloves. I also purchase a new chain and sprocket kit.
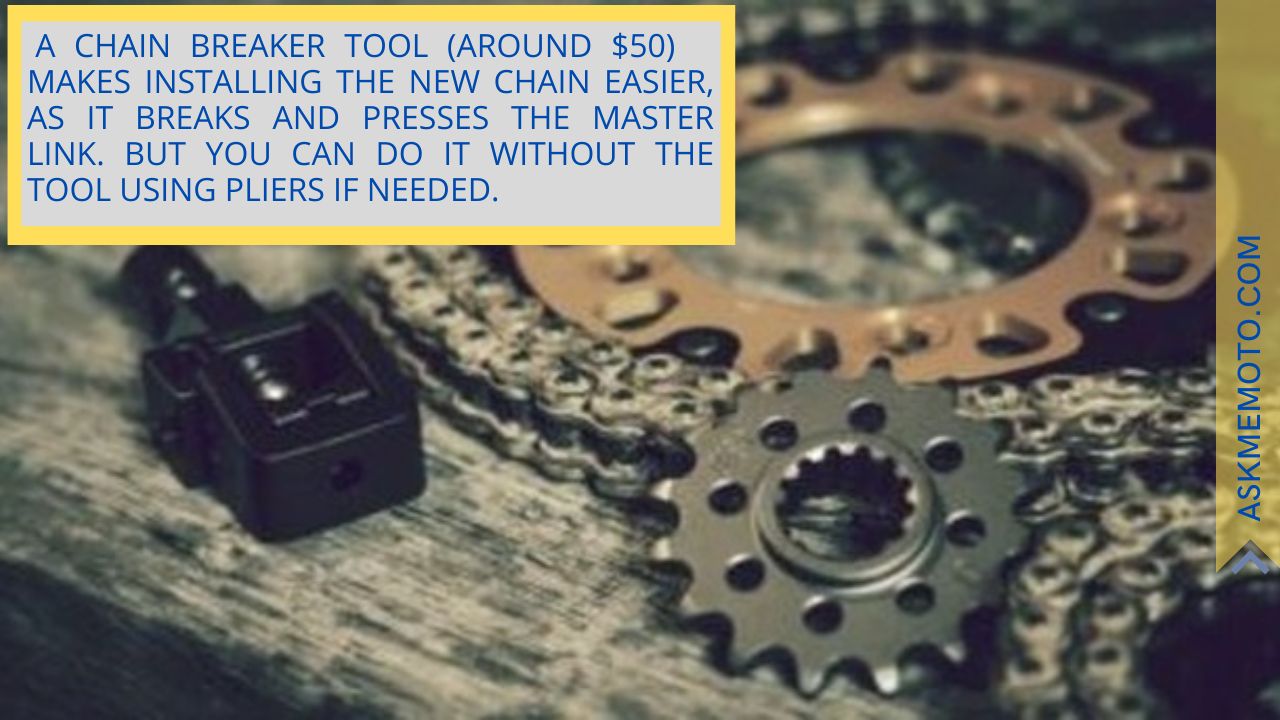
Chain Breaker Tool
Now it’s time to remove the old chain. I use a battery powered angle grinder with a cut-off wheel to slice through the chain at the master link. This is quicker and easier than pressing out rivets tools. I remove the front and rear sprockets and clean everything again.
Chain Rivet Tool
Once you have broken the new chain to the correct length, you will need a chain rivet tool to connect the ends of the chain. This tool is used to press the rivet into the chain, creating a secure connection. Make sure you have a chain rivet tool that is designed for use with motorcycle chains.
With these tools in hand, you are ready to begin the process of installing your new motorcycle chain. Make sure you take your time and follow the manufacturer’s instructions carefully to ensure a safe and secure installation.
Choosing the Right Motorcycle Chain
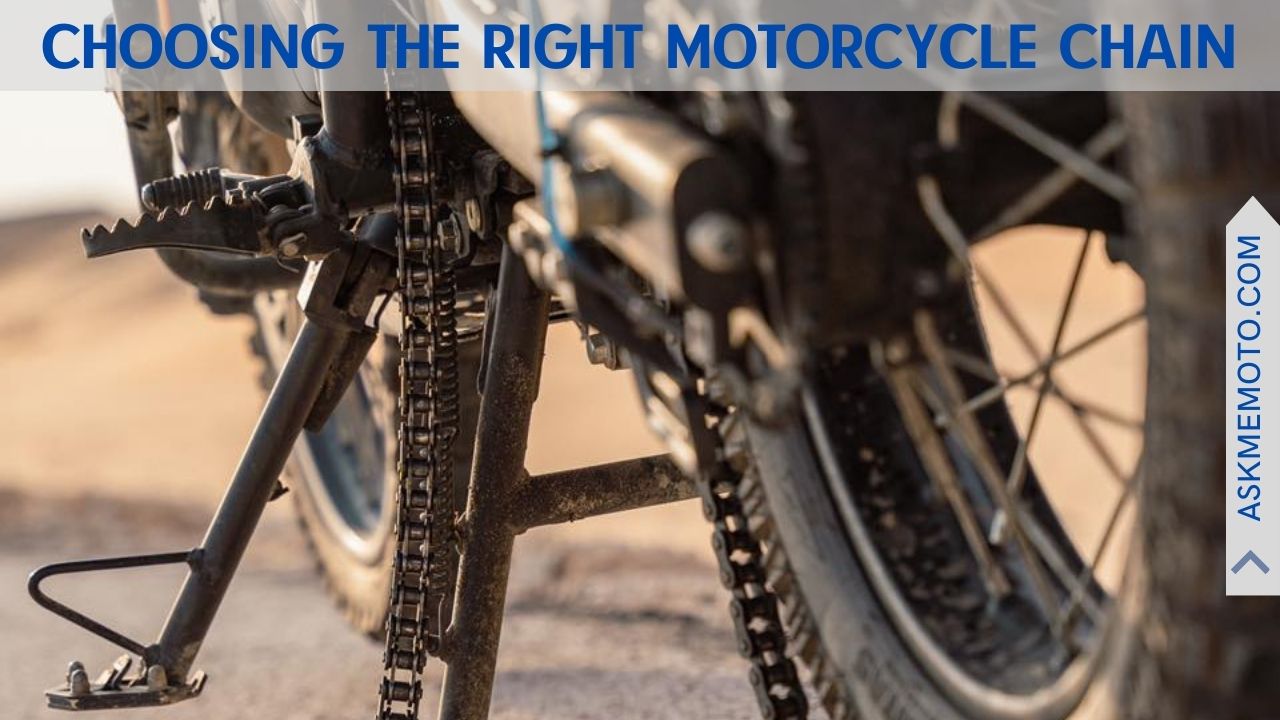
When it comes to installing a motorcycle chain, choosing the right chain is crucial for optimal performance and safety. Here are some factors to consider when selecting a motorcycle chain:
Chain Size
The first step in choosing a motorcycle chain is to ensure that you select the right size. The size of the chain is determined by the number of links in the chain and the pitch, or distance between each link. To determine the correct size for your motorcycle, consult your owner’s manual or a professional mechanic.
Chain Type
There are several types of motorcycle chains available, including standard, O-ring, and X-ring chains. Each type has its own advantages and disadvantages, so it’s important to select the one that best fits your needs.
Standard chains are the most basic type of chain and are typically the least expensive. They are suitable for most motorcycles and are easy to maintain.
- O-ring chains have small rubber O-rings between the inner and outer plates, which help to keep lubrication in and dirt out. This makes them more durable and longer-lasting than standard chains, but they are also more expensive.
- X-ring chains are similar to O-ring chains, but they have X-shaped rings instead of O-rings. This design provides even better sealing and durability, but they are also the most expensive option.
When selecting a chain type, consider factors such as your riding style, the conditions you’ll be riding in, and your budget.
By considering these factors, you can choose the right motorcycle chain for your needs and ensure optimal performance and safety.
Preparation for Installation

Before installing a new motorcycle chain, it is important to properly prepare your bike. This will ensure that the new chain is installed correctly and will last as long as possible. Here are a few steps you should take before installing your new chain:
Removing Old Chain
The first step in preparing for a new chain installation is to remove the old chain. This can be done using a chain tool, which will allow you to break the chain apart. Be sure to loosen the rear wheel axle nut and adjusters to create slack in the chain before removing it.
Cleaning the Sprockets
Once the old chain has been removed, it is important to thoroughly clean the sprockets. Dirty sprockets can cause premature wear and tear on your new chain, so it is important to make sure they are clean and free of debris. Use a stiff-bristled brush and a degreaser to remove any dirt or grime that may be on the sprockets.
After cleaning the sprockets, inspect them for any signs of wear. If the sprockets are worn, it is recommended to replace them along with the chain. This will ensure that your new chain lasts as long as possible and is not damaged by worn sprockets.
By properly preparing your motorcycle for a new chain installation, you can ensure that your new chain will last as long as possible and provide a smooth ride.
Install a Motorcycle Chain: Process
Thread the New Chain
Next I install the new sprockets using a thin layer of threadlocker on the threads. I torque them to spec per the manual. I thread the new chain through the rear wheel and over the sprockets. At this point I rivet the master link per the instructions.
Connecting the Links
Next, I will connect the links of the new chain. I will use a chain tool to push the pins through the links. I will make sure that the pins are fully seated in the links.
Adjusting the Chain Tension
Finally, I will adjust the chain tension. I will measure the slack in the chain and adjust the tension accordingly. I will make sure that the chain has the correct amount of slack and is not too tight or too loose.
The whole process takes me 30-60 minutes depending on the bike. It’s satisfying to refresh this critical drivetrain component. While not overly complicated, it does require following each step carefully. Patience and mechanical aptitude are necessities. But with practice, chain and sprocket replacement is a basic skill every motorcyclist should master.
Testing the New Chain

Now that the new chain is installed, it’s time to test it out. Here are a few things to keep in mind:
- Check the tension: The chain should have a little bit of slack, but not too much. To check the tension, measure the distance between the centers of the front and rear sprockets. Then, pull up on the chain at its midpoint. The chain should move up about 1 inch. If it moves more than that, it’s too loose. If it doesn’t move at all, it’s too tight.
- Test ride: Take the motorcycle for a short ride around the block. Pay attention to how the chain feels. Does it make any strange noises? Does it feel loose or tight? If everything feels good, you’re ready to hit the road.
- Recheck tension: After the test ride, recheck the tension of the chain. It’s not uncommon for the tension to change slightly after the first ride. Make any necessary adjustments.
- Maintenance: Remember to keep the chain properly lubricated and clean. This will help prolong its life and keep it functioning properly.
By following these steps, you can ensure that your new chain is installed correctly and ready for the road.
Maintenance Tips
As a motorcycle rider, I know how important it is to keep the chain well-maintained. Here are a few tips that I follow to keep my motorcycle chain in top condition.
Regular Cleaning
Regular cleaning of the chain is essential to keep it free from dirt and debris. I usually clean my chain after every long ride, but you can do it as per your convenience. Here’s how I clean my chain:
- First, I use a chain cleaner to remove any dirt and grime from the chain.
- Then, I use a brush to scrub the chain and remove any remaining dirt.
- After that, I rinse the chain with water and let it dry completely.
- Finally, I apply chain lubricant to the chain.
Proper Lubrication
Lubrication is essential to keep the chain running smoothly. I usually lubricate my chain after every 500-600 km, but you can do it as per your manufacturer’s recommendations. Here’s how I lubricate my chain:
- First, I clean the chain as mentioned above.
- Then, I apply chain lubricant to the chain while rotating the wheel.
- After that, I wipe off any excess lubricant with a clean cloth.
Timely Replacement
Timely replacement of the chain is crucial to avoid any accidents or damage to the motorcycle. I usually replace my chain after every 20,000-25,000 km, but you can do it as per your manufacturer’s recommendations. Here are a few signs that indicate that it’s time to replace your chain:
- The chain is stretched beyond the manufacturer’s recommended limit.
- The chain is making a lot of noise while running.
- The chain is showing signs of wear and tear.
By following these maintenance tips, you can ensure that your motorcycle chain lasts longer and performs better.
Frequently Asked Questions
What tools are needed to install a motorcycle chain?
To install a motorcycle chain, you will need a few tools such as a chain breaker, a chain rivet tool, pliers, and a wrench. The chain breaker is used to remove the old chain, while the chain rivet tool is used to connect the new chain. Pliers are used to hold the master link in place, and a wrench is used to tighten the axle nut.
How often should you replace a motorcycle chain?
It is recommended to replace a motorcycle chain every 20,000 to 30,000 miles or when it shows signs of wear. Regular inspection of your chain can help you determine when it needs to be replaced. If you notice any kinks, rust, or excessive wear, it’s time to replace the chain.
What is the proper tension for a motorcycle chain?
The proper tension for a motorcycle chain is typically between 1/2 inch and 3/4 inch of play in the middle of the chain. This can vary depending on the make and model of your motorcycle, so it’s always best to consult your owner’s manual for specific instructions.
Can you install a motorcycle chain without a chain tool?
It is not recommended to install a motorcycle chain without a chain tool. A chain tool is necessary to properly break and rivet the chain. Attempting to install a chain without the proper tools can result in an improperly installed chain, which can be dangerous.
How do you know if a motorcycle chain is worn out?
A worn-out motorcycle chain will show signs of wear such as kinks, rust, or excessive wear on the sprockets. You can also check the tension of the chain to see if it needs to be replaced. If the chain has stretched beyond its proper tension, it’s time to replace it.
Is it necessary to replace both the chain and sprockets at the same time?
It is recommended to replace both the chain and sprockets at the same time. This is because the sprockets wear out along with the chain, and replacing only one component can result in premature wear of the other. Replacing both components at the same time ensures optimal performance and longevity.
